
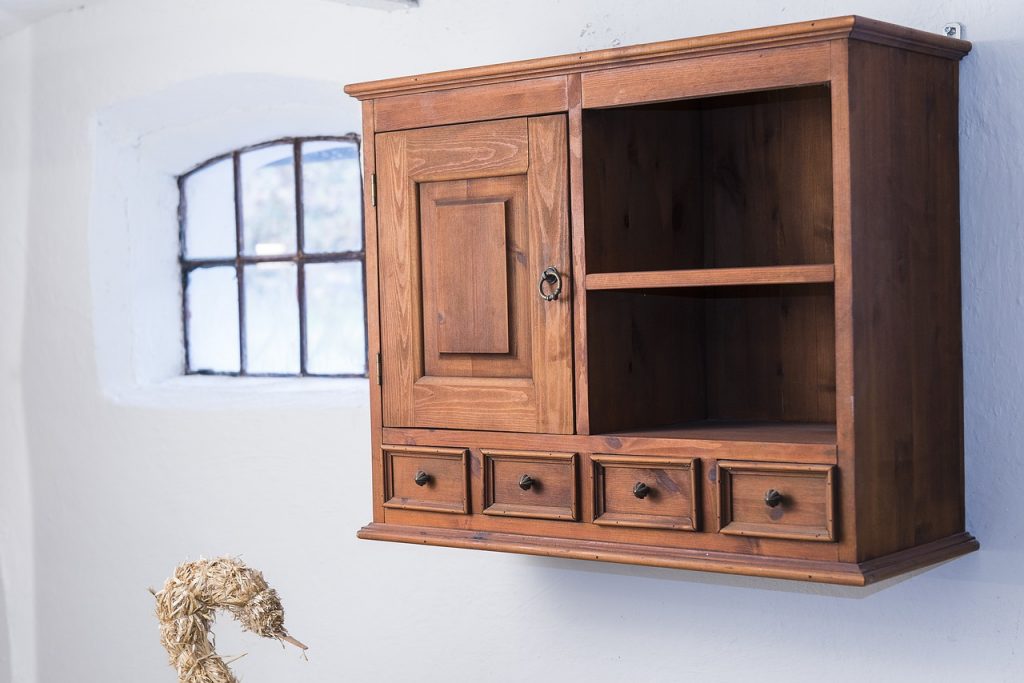
Are you looking for the best way to refinish your kitchen cabinets? The kitchen is an essential space in your home, and no kitchen is complete without cabinets. So, cabinets are crucial for storage and aesthetics, so it’s necessary to make sure they’re in good condition.
Unfortunately, cabinets can often become damaged or worn over time. Hence, if your cabinets are looking a little worse for wear, don’t worry – there’s a solution. Refinishing your kitchen cabinets is a great way to give them a new lease on life, and there are ways to do it yourself.
What Is Refinishing and How Does It Work?
Refinishing is restoring a piece of furniture to its original condition. It usually involves stripping away the old finish, sanding down the surface, and applying a new finish. Refinishing kitchen cabinets is a great way to make them look new again without having to replace them entirely. There are two main ways to refinish kitchen cabinets: painting and staining.
⏩Painting
It is the best way to refinish kitchen cabinets if you want to change the color entirely. In addition, you can use paint to refinish kitchen cabinets if it’s a complex material to stain, such as laminate.
⏩Staining
Staining is best for refinishing kitchen cabinets if you want to keep the same general color but enhance the wood grain. And so, It’s also a good option if your cabinets are made of a material that’s difficult to paint, such as metal.
Safety Considerations Before You Refinish Kitchen Cabinets
So, before you refinish kitchen cabinets, there are a few safety considerations to keep in mind.
- First, make sure that the area you’re working in is well-ventilated. Since there are chemicals in both paint and stain that can be harmful if inhaled, working in an area with good airflow is important.
- Second, wear protective clothing. Long sleeves and gloves will help protect your skin from the chemicals in the paint or stain.
- Third, use a respirator mask if possible. Since it will help to filter out any harmful fumes that you might inhale while working.
- Finally, make sure to work in a well-lit area. It will help you see what you’re doing and avoid any accidents.
As a result, take these safety precautions into consideration before you refinish kitchen cabinets.
The Best Way to Refinish Kitchen Cabinets
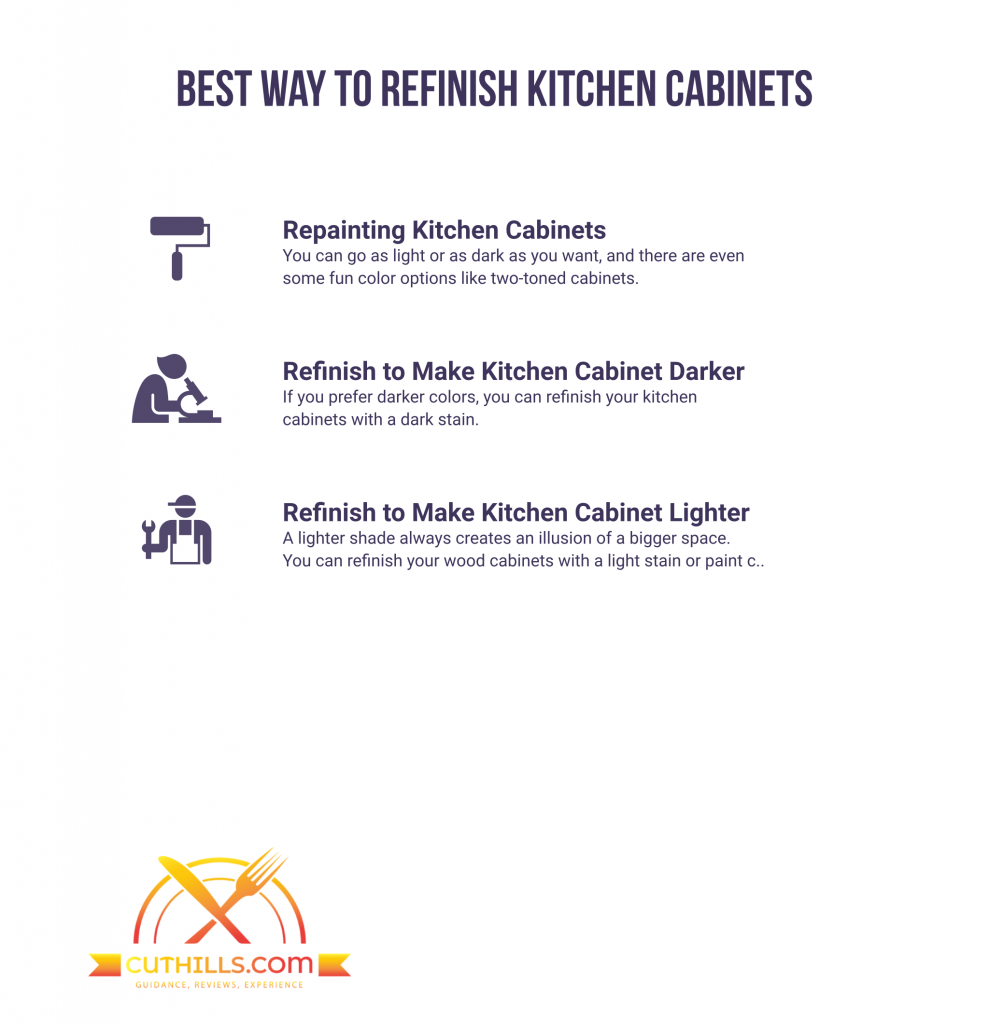
Now that you know what refinishing is and how it works let’s look at the best way to refinish kitchen cabinets. So, here are some methods that you can use to refinish your kitchen cabinets and give them a new lease on life.
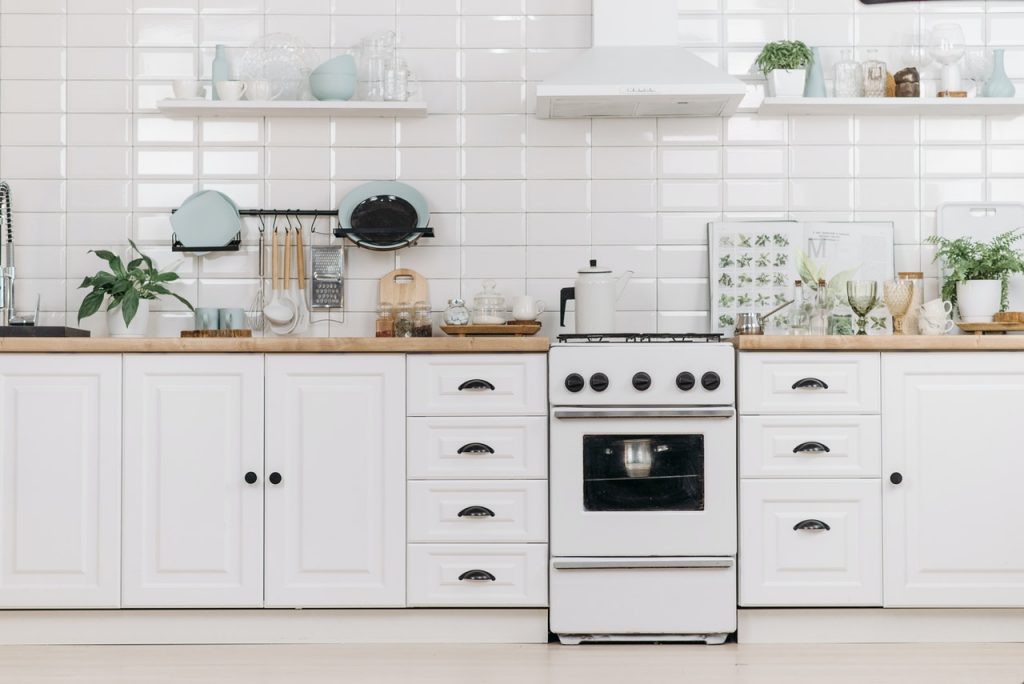
Method # 1: Repainting Kitchen Cabinets
Repainting kitchen cabinets is simpler than restaining them, despite its greatest impact. Even more, since you’re putting on a whole fresh coat, the color options are almost limitless. Thus, you can go as light or as dark as you want, and there are even some fun color options like two-toned cabinets.
Supplies you’ll need:
| Enamel cabinet and trim paint | Trim paint |
| Paint roller and tray | Foam sanding block |
| Paintbrush | 220-Grit sandpaper |
| Degreaser | Respirator |
| Primer | Tack cloth |
Step 1: Removing Kitchen Cabinet Hardware and Doors
The first step is to remove all of the hardware from your cabinets. It includes pulls, knobs, and hinges. It’s best to do this before you start painting to get a nice even coat of paint without worrying about painting around the hardware. Once the hardware is off, you can remove the doors. Furthermore, if your cabinets have glass doors, you’ll need to be careful when removing them so that you don’t break the glass.
Step 2: Scuff the Cabinets’ Surfaces Carefully
After the hardware and doors are off, you’ll need to scuff up the surface of the cabinets so that the paint will have something to grip. Moreover, you can do this with a foam sanding block and some 220-grit sandpaper. Make sure to go over the entire surface, including the edges and corners. Once you’re done, use a tack cloth to remove any dust left behind.
Step 3: Clean the Cabinets Thoroughly
Now that the surfaces are prepped, you’ll need to degrease and clean the cabinets. It is an essential step because it will help the paint adhere properly. Also, you can use a degreaser and a sponge or cloth to clean the cabinets. Take your time and make sure to get into all of the nooks and crannies. Once you’re done, use a tack cloth to remove any residue left behind.
Step 4: Apply the Primer
Once the cabinets are clean and dry, you can apply a primer. It is a crucial step because it will help the paint adhere properly and give you a nice, even finish. Then, use a paintbrush to cut the cabinet edges, and then use a roller to apply the primer to the rest of the surface. So make sure to go over the entire surface, including the doors and drawers.
Step 5: Start Painting the Kitchen Cabinets
After the primer is dry, you can start painting immediately. And so, use a paintbrush to cut cabinet edges and then use a roller to apply the paint to the rest of the surface.
Consequently, you’ll need to apply at least two coats of paint, and you may need to sand in between coats if you’re using a darker color. Finally, once you’re done, let the paint dry completely before putting the hardware and doors back on.
Method # 2: Refinish to Make Kitchen Cabinet Darker
If you prefer darker colors, you can refinish your kitchen cabinets with a dark stain. This method is more time-consuming than painting, but it’s easier than stripping and sanding. Plus, it will give you a beautiful dark finish that will make your cabinets pop.
Supplies you’ll need:
| Polyurethane finish | Sandpaper |
| Paintbrush | Respirator |
| Tinted polyurethane varnish | Trisodium Phosphate (TSP) |
| Tack cloth | Rubber gloves |
Step 1: Remove and Clean the Drawer Fronts and Doors
The first step is to remove all of the drawer fronts and doors. Next, you’ll need to clean them thoroughly with a TSP solution to remove any grease or grime.
Then, once they’re clean, you can sand them lightly with fine-grit sandpaper to help the stain adhere better.
Step 2: Experiment With Tinted Polyurethane Varnish
Now it’s time to start staining. You can use a paintbrush or a rag to apply the stain, and you can experiment with different shades of tinted polyurethane varnish until you find the perfect color.
Remember that the stain will look darker when it’s wet, so don’t be afraid to go a bit darker than you think you need to.
Step 3: Wipe Off Excess Stain
Once you’ve applied the stain, wipe off any excess with a clean rag. Also, you don’t want to leave too much stain on the surface, or it will take forever to dry.
Let the stain dry completely before moving on to the next step.
Step 4: Apply a Polyurethane Finish
Once the stain is dry, you can apply a polyurethane finish to help protect it. Again, you can use a paintbrush or a rag to apply the finish.
Furthermore, make sure to go over the entire surface, including the edges and corners. Once you’re done, let the finish dry completely before putting the hardware and doors back on.
Method # 3: Refinish to Make Kitchen Cabinet Lighter
A lighter shade always creates an illusion of a bigger space. So, if you want to open up your kitchen and make it feel more spacious, you can refinish your wood cabinets with a light stain or paint color.
This method is similar to the previous one, but you’ll use a lighter stain or paint instead of a dark one.
Supplies you’ll need:
| Paint stripper | Chlorine bleach (if necessary) |
| Denatured alcohol | Wood sealer |
| Varnish | Wood filler |
| Stain | Putty knife |
| Tack cloth | Steel wool |
| Sandpaper | Rags |
| Scraper | Orbital sander |
| Rubber gloves | Sanding block |
Step 1: Remove Kitchen Cabinet Doors
First, remove one of the doors and sand off a small part of the cabinet finish on the back before striping the paint. Then, if the door is varnished, use a paint stripper to remove the old finish.
You can also use a chemical stripper if the door is painted. Once you’ve removed the old finish, sand off any remaining residue with a fine-grit sandpaper. Thus, you should remove the drawer fronts and doors, and all of the hardware is made of hardwood.
Step 2: Use Wood Fillers and Start Sanding the Cabinets
Firstly, fill deep scratches and dents using wood filler, then sand until the finish is removed and the wood is totally clean and free of scratches. Secondly, do an initial pass with a 100 orbital sander grit. Then, make a subsequent brush with 180-grit, and finally, make a 220-grit for the last pass.
In addition, you can use a sanding block on flat surfaces and a hand sander on the edges. Moreover, if you’re working with hardwood cabinets, don’t forget to use a wood sealer before staining or painting them.
Step 3: Apply the Sealer
Once you’ve sanded the cabinets, apply a wood sealer to help protect them from water damage. Also, you can use a brush or a rag to apply the sealer and go over all of the surfaces, including the edges and corners.
After the sealer has dried, softly rub the surface with 000 steel wool before cleaning it properly with a tack cloth.
Step 4: Paint or Stain the Cabinets
Now it’s time to paint or stain the cabinets. So, you can use a brush, a roller, or a rag to apply the paint or stain. Moreover, If you’re using a paintbrush, choose one with synthetic bristles so that it doesn’t leave any brush strokes in the finish.
Next, once you’ve applied the paint or stain, let it dry completely before moving on to the next step.
Step 5: Apply a Protective Varnish Finish
After the paint or stain has dried, you can apply a polyurethane finish to help protect it. Again, you can use a brush or a rag to apply the finish. So, make sure to go over the entire surface, including the edges and corners.
Finally, once you’re done, let the finish dry completely before putting the hardware and doors back on.
The Advantage of a Refinish Kitchen Cabinets
A refinished kitchen cabinet offers several advantages over buying new cabinets or leaving your old ones as-is. Aside from the money you will save, there are some more practical benefits to refinish rather than replace.
🗹It’s an Eco-friendly Option
When you refinish your cabinets, you are reusing what is already there. Thus, it cuts down on the resources needed to create new cabinets and reduces the amount of waste in landfills.
Furthermore, formaldehyde is present in almost all kitchen cabinets, and it may be harmful if it ends up in the landfill. So, if you want to dispose of them, consider sending them to a recycling company.
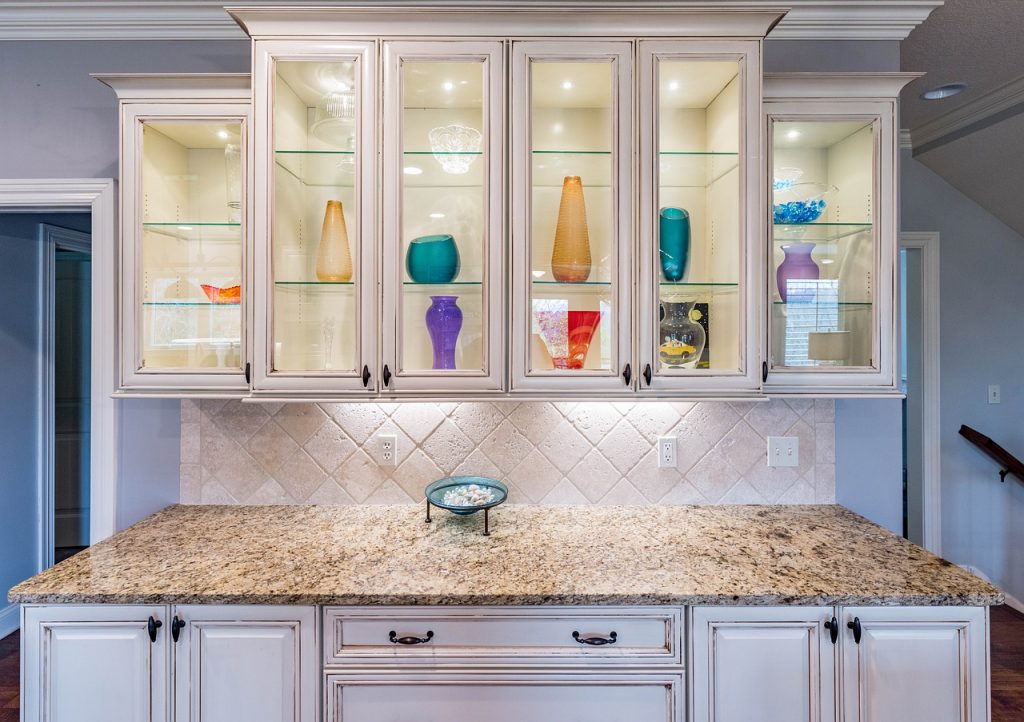
🗹You Can Customize the Look
When you refinish your kitchen cabinets, you can choose any stain or paint color. Indeed, you are not limited by the colors that come with new cabinets. You also can add new hardware to give them a completely new look.
🗹The Process is Faster and Less Intrusive
It takes less time to refinish your cabinets than to replace them. You also won’t have to go without a kitchen for as long because the process is not as invasive.
🗹You Won’t Have to Worry About Mold
Mold can grow inside cabinets if it’s not sealed properly. So, if you live in a humid climate, this is something you will want to avoid. When you refinish your cabinets, you can ensure they are sealed so that mold is not a problem.
These are just a few of the advantages of refinishing your kitchen cabinets. If you are thinking about replacing your cabinets, consider refinishing them instead.
Simple Ways to Upgrade Standard Kitchen Cabinets
In addition to a refinish kitchen cabinets project, you can also upgrade your cabinets in other ways. Undoubtedly, you can add functionality and style to your kitchen for a fraction of the cost of new cabinets with these ideas.
🟠Swap Out Boring Hardware
One of the quickest and easiest ways to upgrade your cabinets is to swap out the hardware. Thus, it is a great way to add a pop of color or style to your kitchen without breaking the bank.
After all, you can find new hardware at any home improvement store or online. So, make sure you get the right size screws for your cabinets before starting.
🟠Add Crown Molding
Install gorgeous crown molding around the tops of builder-grade cabinets to add elegance, interest, and depth to your kitchen. Crown molding is also a great way to cover gaps between your cabinets and the ceiling.
Also, you can find crown molding at any home improvement store or online. Just make sure you get the right size for your cabinets before starting.
🟠Install Under Cabinet Lighting
Under-cabinet lighting is both functional and stylish. It can help you see what you’re doing when you’re cooking, and it also adds a bit of ambiance to your kitchen. There are great types of cabinet lighting available that are easy to install. You can choose colors like white or blue to add a bit of interest to your kitchen.
🟠Sliding Shelves
Sliding shelves make it easy to reach everything in your cabinets, even items stored in the back. It is simple to install these shelves yourself, and they make a huge difference in the functionality of your kitchen.
🟠Remove Some Cabinet Doors
If you want the concept of open shelving and don’t want to replace your cabinets, this would be the option. Alternatively, simply remove a few cabinet doors. You may then utilize dinnerware, glassware, and other lovely kitchen pieces as décor elements, giving your kitchen light an open feel.
🟠Use Drawer Dividers
Plastics it’s not the only material you can use to organize drawers. Drawer dividers are now available in various gorgeous wood treatments. It can match the size of your cabinet precisely, giving them a custom feel that emphasizes your most handpicked kitchen utensils.
🟠Add Beauty With Beadboard
Beadboard is a type of wood that has been milled into panels with decorative grooves. It can add texture and interest to any number of surfaces, including cabinet doors. You can beautify your kitchen cabinets by adding beadboard inserts to the doors.
🟠Try Toe Kick Drawers
Most kitchens have wasted space under the cabinets where the toe kick is. You can put that space to good use by adding toe kick drawers. These are small drawers that fit into that space and give you extra storage for things like silverware, linens, or small appliances.
🟠Handy Spice Storage
If you’re short on cabinet space, this is a great way to get some extra storage. You can add a spice rack to the inside of a cabinet door or even to the wall. It will give you easy access to your spices and keep them organized.
🟠Craft a Plant Shelf
Plants are a great way to add life to your kitchen. If you don’t have a lot of counter space, you can create a plant shelf above your cabinets. It is a great way to add greenery to your kitchen without taking up valuable space.
Frequently Asked Questions
Q: What is the average cost of cabinet refinishing?
Depending on the kitchen size, the refinishing cost for kitchen cabinets will range between $1,800 and $4,000. If you take up the job yourself, you may save up to 75% on the cost.
Q: How long does it take to refinish kitchen cabinets?
The entire process of refinishing kitchen cabinets may take up to four days. It includes the preparation, sanding, painting or staining, and drying time.
Q: Can I do it myself?
Yes, you can refinish your cabinets with a little time and effort. You can find all the supplies you need at your local home improvement store. Just be sure to follow the directions carefully and take your time.
Q: Why is my wood striped and blotchy?
In some cases, the wood cabinets are of poor quality. It will be difficult to get a smooth, even finish if it has a raised grain or visible imperfections. You may need to sand down the cabinets and start over if this is the case.
Q: Is it worth it to refinish or replace cabinets?
The answer to this question depends on a few factors. If your cabinets are in good condition and you like the layout of your kitchen, then refinishing them may be the best option. However, replacing your cabinets may be better if they are old or damaged.
Q: Is it best to stain or paint the cabinet kitchen?
Again, this depends on your personal preference. Staining the cabinets is the best option for a natural wood look. If you want a more uniform look, painting the cabinets may be ideal.
Q: What is the most popular kitchen cabinet color this year 2022?
This year’s most popular kitchen cabinet colors are white, gray, and black. These colors provide a clean and modern look that can update easily with new hardware or accessories. If you’re looking for something a little different, try a bold color like red or blue. These colors will make your kitchen stand out and give it a unique flair.
Final Thoughts
Refinishing a kitchen cabinet is a more cost-effective and eco-friendly option that will allow you to customize the look of your kitchen. When done correctly, refinishing your kitchen cabinets is an easy and rewarding process that will give you the kitchen of your dreams. Use these tips to ensure that your cabinets come out looking their best. With a bit of time and effort, you can have the kitchen you’ve always wanted without spending a fortune.
If you’re not sure whether or not refinishing your cabinets is right for you, talk to a professional. They will be able to assess your situation and give you the best advice for your kitchen.
Do you have some tips for refinishing kitchen cabinets that we didn’t mention? We’d love to hear from you in the comments below.