
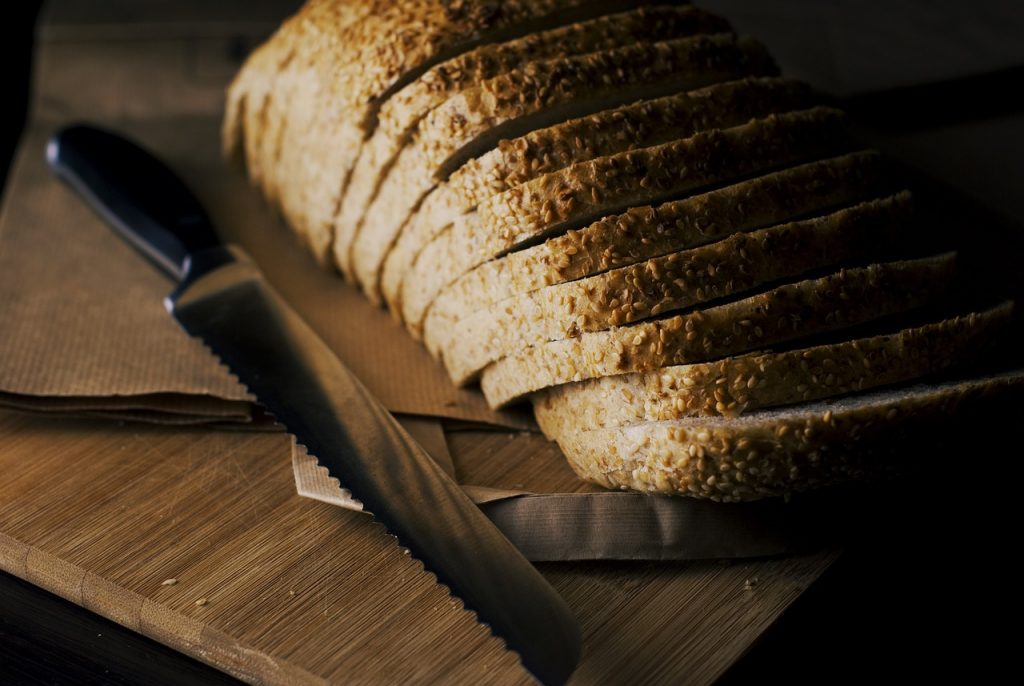
Are you looking for the perfect slice of toast? Or maybe a neat cut of homemade French bread accompanies your evening soup? Do you ever struggle to cut through your favorite loaf of bread with a dull serrated blade? It’s time to take back control over your slicing endeavors and learn how to sharpen a serrated bread knife at home.
This seemingly intimidating task is simple, with minimal cost and effort. Don’t worry if you don’t have extensive knowledge of proper ways to sharpen knives. This guide is tailored specifically for those not-so-confident beginners and will give you step-by-step instructions on how to quickly get that serrated bread knife nice and sharp!
What is a Serrated Bread Knife?
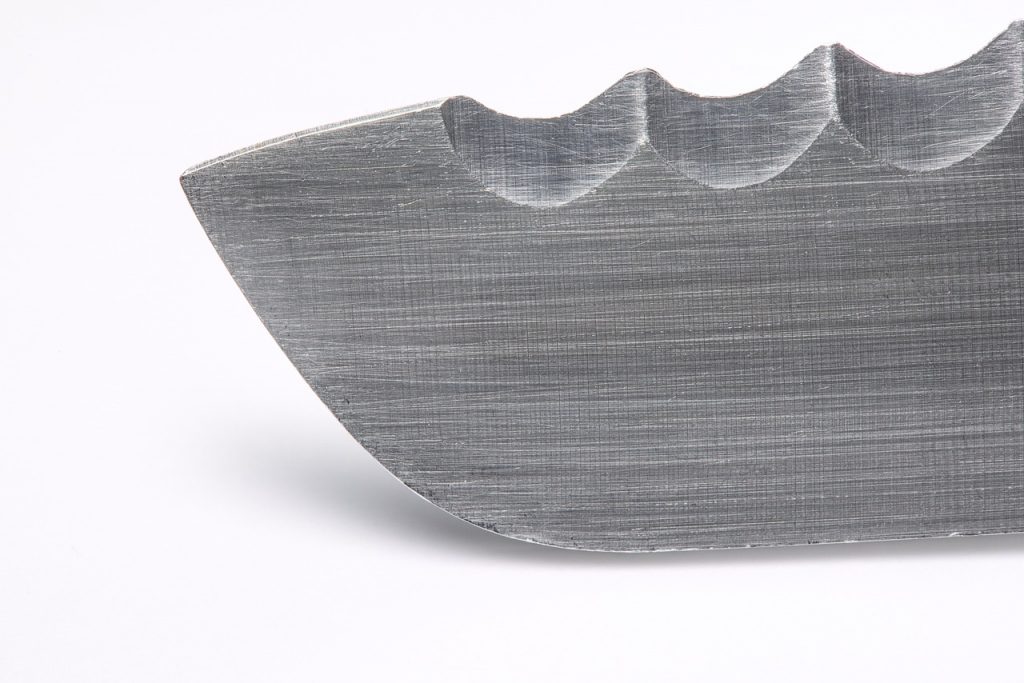
A serrated bread knife is a kitchen knife with a blade with “teeth” along its edge. These teeth make cutting through tougher items, like crusty bread or hard-skinned fruits and vegetables, easier. The teeth also help prevent food from sticking to the blade as you slice it.
Serrated bread knives come in a variety of shapes and sizes. Some have short blades for more precise slicing, while others have long blades for larger loaves of bread.
The size of the teeth varies depending on the material you need to cut. For example, large-toothed blades are better for slicing crusty bread, while fine-toothed blades can handle delicate ingredients like tomatoes or mushrooms.
Advantages of a Serrated Bread Knife
The biggest advantage of using a serrated bread knife is that it helps ensure even slices with minimal tearing or crumbling of the bread. It makes it perfect for everything from cutting baguettes into thin slices for sandwiches to preparing thick wedges for toast and croutons. It’s also great for slicing through thickly-crusted homemade loaves without hacking away at them with an ordinary chef’s knife.
In addition, serrated bread knives are much less likely than other knives to slip off food because the teeth grip whatever they’re cutting into better than straight-edged blades do. Overall, it makes them safer and easier to use, making them ideal for beginner cooks who may not have as much experience handling sharp objects in the kitchen yet.
Why Do Serrated Knives Get Dull?
Serrated blades are designed to cut through tough materials like bread, cake, or pizza crusts. They have saw-like teeth that can easily penetrate tough surfaces without crushing them. However, these same teeth also make it difficult for the blade to sharpen itself. Unlike straight blades, which you can sharpen with a honing steel or whetstone, serrated knives require special sharpening tools and techniques to maintain their cutting edge.
Another issue with serrated bread knives is their unique design creates uneven wear on the blade’s surface over time. As you use your knife, its teeth become worn down at different rates due to their irregular shapes. This uneven wear means that some parts of the blade will become duller more quickly than others, making it hard for you to sharpen the knife evenly and effectively.
Moreover, serrated blades tend to accumulate debris between their teeth over time. Bits of food particles can get lodged between the teeth, making it difficult for a honing steel or sharpening stone to evenly reach every part of the blade. If left unchecked, this accumulation of debris can cause your knife’s cutting power to diminish significantly over time.
Signs that Your Serrated Edge is Dull
A good quality serrated bread knife should last many years, but even the best knives will wear down over time and need serrated knife sharpening or replacement. But how do you know when your serrated bread knife is dull? Here are a few telltale signs that it’s time for a new blade.
🍞Difficulty Slicing
The most obvious sign that your bread knife is dull is if you have difficulty slicing through food. If you have to push hard on the handle or saw back and forth with the blade, then it’s likely that your serrated bread knife is no longer as sharp as it used to be. It can be especially noticeable when cutting through items such as crusty loaves of artisanal bread, bagels, and tomatoes.
🍞Damage to Foods
If you notice that the edges of food items you are slicing are becoming frayed or ragged after slicing, this could indicate that your serrated bread knife is dull. The teeth of a properly sharpened serrated edge should leave clean cuts without ripping or tearing at the food item’s surface.
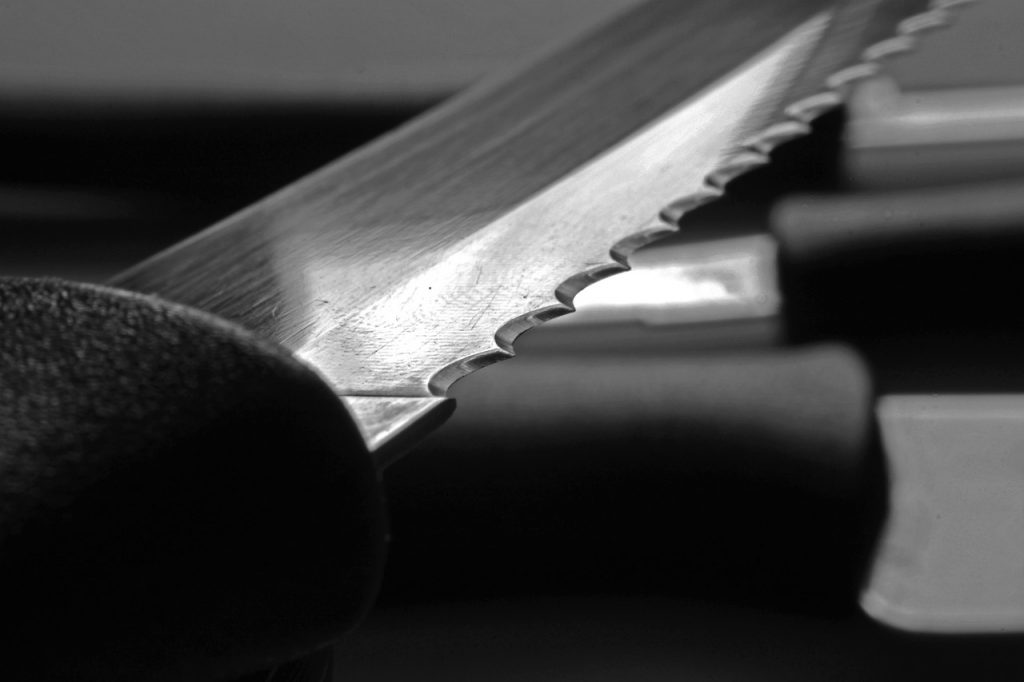
🍞Rounded Edge Instead of Pointed Teeth
Another way to tell if your serrated bread knife is dull is by looking at the blade’s edge. If the teeth are no longer sharp and pointed but have become rounded or worn down, it’s time for sharpening or replacement.
🍞Frequent Sharpening
Even with proper care and maintenance, all blades will eventually become dull and need to be sharpened or replaced. If you have to hone your serrated bread knife frequently (more than once every few months), this could also be a sign that it’s time for a new blade. It may simply mean that the blade has become too worn down over time, and no amount of sharpening can bring it back up to its original level of performance.
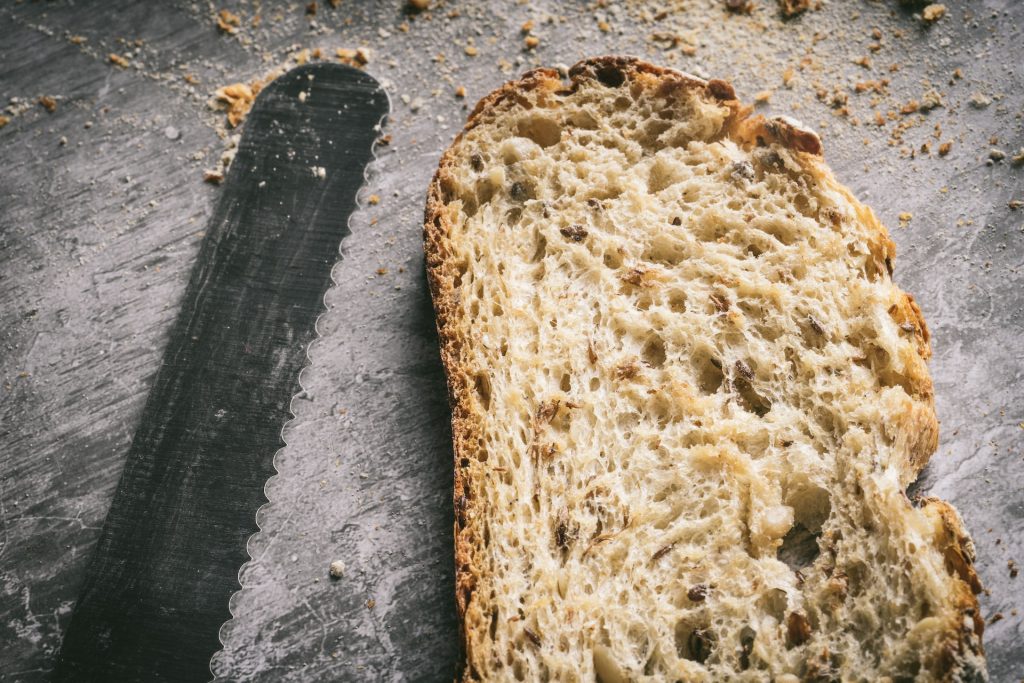
🍞Try the Bread Test
The best way to tell how sharp your serrated bread knife is without actually taking it apart and looking at the blade is to do a bread test. Take a standard slice of store-bought sandwich bread and try slicing it with your knife. If you find that the blade slips off the surface or leaves ragged edges after cutting, then your blade is already dull.
Things to Avoid Before Sharpening Your Knife
If you have a serrated bread knife, you know just how important it is to keep it sharp. But before you sharpen your serrated bread knife, there are some things that you should avoid.
❌Using the Wrong Tools
Using the wrong tools can be extremely detrimental when sharpening any blade, including a serrated bread knife. Before sharpening your blade, ensure you are using the correct tools for the job. You should never use any grinding wheel or stone as these could damage or chip away at your blade. Instead, opt for honing steel or ceramic rod to maintain the edge of your blade without damaging the surface.
❌Not Cleaning Your Knife Properly
Another mistake often made when sharpening a serrated bread knife is not cleaning it properly before starting. It’s important to clean off any food particles or residue from your blade before sharpening, as this will help ensure you get an even edge. To clean off your blade properly, use warm water and mild dish soap and then dry off with a soft cloth afterward.
❌Sharpening Too Often
While it’s important to keep your serrated bread knife sharp, over-sharpening can significantly damage your blade and reduce its lifespan. It’s best to only sharpen your blade every few months to maintain its edges without causing unnecessary wear and tear on the blade’s surface. Remember that while regular maintenance will help improve its performance over time, too much maintenance can be counterproductive in the long run.
❌Not Securing the Knife
Before sharpening your serrated bread knife, ensure that you secure it in a vice grip, so the blade does not move around. It will help ensure you get an even edge when sharpening and prevent any accidental cuts or injuries.
❌Don’t Use an Electric Sharpener
Electric sharpeners may seem easy to sharpen your knives, but they’re not suitable for serrated blades like a bread knife due to their size and shape. Electric sharpeners are designed for straight-edged blades, so any attempt to use one with a serrated blade may result in damage and uneven edges.
❌Avoid Washing Your Knife in the Dishwasher
While it’s tempting to throw your serrated bread knife in the dishwasher for a quick and easy clean, this is one of the worst things you can do. Not only are dishwashers not designed for sharp blades, but they can also cause them to become dull over time due to the high temperature and detergents used. To keep your blade in top shape, wash it with warm water and mild dish soap.
How to Sharpen a Serrated Bread Knife at Home
Because of the unique knife blade shape and size, it’s hard to sharpen serrated knives with a traditional knife sharpener. However, there are a few methods that you can use to keep your serrated bread knife sharp and in good condition.
A ceramic sharpening rod is also called a honing rod. The ceramic rod is the same diameter as the serration on your blade. It is also harder than steel, so you can use it to remove material from the blade’s edge. Here’s how you can use it:
1️⃣Wash your Knife
Start by running your knife under warm water for about 30 seconds. It will soften any hardened food particles stuck on the blade and make them easier to remove during serrated knife sharpening. Then take your old towel and carefully dry off the blade before beginning the sharpening process.
2️⃣Find the Knife’s Beveled Side
You will only need to sharpen the beveled edge of your knife like a standard flat-edged knife. The beveled edge is the one that has the most serrations. It should look like a small scallop with a flat edge. The reverse should be completely flat with very few serrations.
Never sharpen serrated knives on the wrong side because it will only damage it. Once you have found the beveled edge, you can start to push the sharpening rod along.
3️⃣Find the Right Angle to Sharpen
Although sharpening seems easy, it can be difficult to position the knife and the rod. Keeping a vice grip close is a good idea to help you clamp the knife and pull the iron across. If that doesn’t work, you could clamp the iron down in a v sharpener and pull the knife across.
Whatever angle you choose, make sure you don’t damage the serrations. Follow the general angle of your gullet. It can range from 10-30 degrees. If you have difficulty determining the angle, it is possible to try this trick. Clamping the knife and pulling the rod upwards or down may be simpler.
4️⃣Use the Sharpening Rod to Carefully Run Each Gullet
Start by running your honing rod along the edge of each gullet, from the base to the tip. You’ll want to use light pressure and ensure you don’t over-sharpen the blade.
5️⃣Repeat on the Other Side
After you’ve finished sharpening one side of your blade, repeat these steps on the other side of your honing rod until all teeth have been sharpened evenly across both sides. It helps ensure that your blade can cut through foods quickly and cleanly every time you use it. Be sure not to press too hard while doing this, or else you could damage or chip your knife’s edge!
6️⃣Switch Tools for Different Sized-Gullets
Serrated knives stand out for their many serration styles, sizes, and edges. It
makes the serrated knife such a strong, clean-cut knife. You may find different sizes of serrations on your serrated knife. In these cases, you will need to adjust the rod’s diameter. A small-diameter rod will work better on fine serrations and a wider rod on larger ones.
It is important to sharpen every gullet with precision, as this will determine your blade’s sharpness. Take your time, be careful, and always remember how fragile knives can be when sharpening.
7️⃣Get Rid of the Burrs
You will find small bits of metal (called burrs) on the flat edge of your knife as you sharpen it. You can remove these metal pieces by running your knife’s flat end along a whetstone or fine-grit paper. The knife should now have sharp edges.
8️⃣Avoid Removing Too Much Metal
There is no way to go back once you have filed too much. You have plenty of space to work with when working with metal. Getting a diamond file off the ground can take much longer than you expected. You can pause to gently run your fingers along the blade’s beveled and non-beveled sides. The burrs that form after each pass are used as a gauge of how it removes much metal.
You can also test your knife often to determine when to stop filing. File out burrs once you have achieved the right balance. You can reduce the knife’s lifespan by over-sharpening it.
9️⃣Clean up & Test Your Work
Once you have finished sharpening your bread knife with the ceramic sharpening rod, wipe off any excess residue from both sides of the blade with a damp cloth or paper towel before safely storing it away in its proper location. Now test out your newly sharpened blade by slicing through some bread. If it cuts cleanly without any resistance or sticking points, then congratulations! You now know how to sharpen serrated knives properly using a ceramic honing rod!
Frequently Asked Questions
How often should you sharpen a serrated knife?
It is best to sharpen your serrated knife every 6-12 months, depending on how often you use it. If the blade is not cutting as well as it did when it was new, then it’s time to sharpen it.
Which side of the serrated knife do you sharpen?
The serrated knife is sharpened on the flat side, not the serrated side. You will want to use a ceramic honing rod and run it along the flat side of each gullet along your knife’s edge. It is important to sharpen every gullet with precision for the best results.
How do I store my serrated knife?
It is important to store your serrated knife safely and securely, preferably in a knife block or sheath. You should also ensure that the blade is clean and dry before putting it away. It will help prevent rust and corrosion buildup on the metal over time.
How can I sharpen a serrated knife without any special tools?
One of the most popular methods was to use coffee mugs. First, look out for coffee mugs with enough rough space at the bottom. Choose coffee mugs and not teacups. Teacups are too delicate to do this kind of job. You would likely prefer an older mug since we’ll be marking it.
Place the cup upside-down on a flat, smooth surface. Move the serrated knife back and forth along the mug’s surface in a sawing motion. Do this for 3-5 minutes, and you should be able to get your knife sharpened without any special tools. Ensure you don’t apply too much pressure to avoid damaging the blade.
How can you prevent a serrated bread knife from becoming dull?
Use the correct cutting board to keep your serrated bread knife from becoming dull. A soft cutting board like bamboo or plastic will help prevent damage to the blade over time. Additionally, you should always be sure to store your knife in a safe and secure location when not in use. It will help keep it protected from any potential damage. Finally, it is important to hone your knife regularly with a ceramic sharpening rod to keep the edge sharp and in good condition.
Final Words
Sharpening serrated knives is an important skill to know how to do. It can help you get crisp and clean slices with every cut. Though there are many ways to sharpen knives, using a ceramic honing rod is an easy way to ensure that your serrated bread knives stay sharp enough to slice through crusty loaves of sourdough or freshly baked baguettes without tearing them apart.
Be sure to practice proper safety precautions when handling a sharp blade and store it securely when not in use. With a little practice and patience, you will be slicing bread like a pro in no time!