
Do you want to add some pizzazz to your kitchen but don’t know how? A backsplash is a great way to do just that! Installing a backsplash in a kitchen is a great way to improve the look and feel of the space. It can also be a relatively easy DIY project, depending on the type of backsplash you choose. Not sure how to put up a backsplash in a kitchen?
In this article, we will discuss the different types of backsplash material available and the steps involved in installing them. We’ll also provide some tips on choosing the right type of backsplash for your kitchen. So let’s get started!
What are The Types of Backsplashes?
There are a variety of backsplash materials available, each with its unique look and feel. The most common types of backsplash material include:
⬜Tile
Tile is a popular choice for backsplashes because it comes in various colors, sizes, and textures. It is also relatively easy to install and can be DIY-ed by most people.
Pros
- Can withstand heat and moisture
- Easy to clean
- Low-cost
- Replaceable
Cons
- Cracks and chips over time
- Grout can stain
- Mosaic tile can be challenging to install
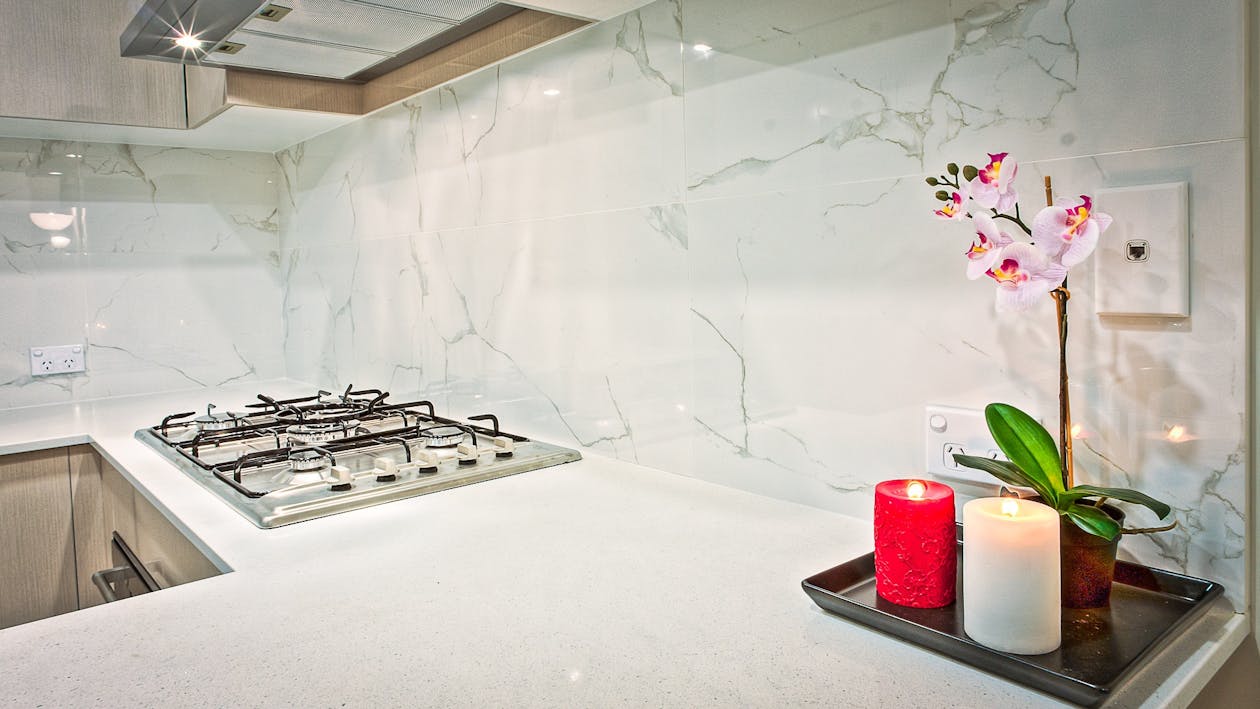
⬜Stone
Stone is a natural material that comes in various colors and textures. It is usually more expensive than other types of backsplash material. Still, it can give your kitchen a luxurious look and feel.
Pros
- Extreme durability
- Variety of colors and textures
Cons
- Expensive
- Vulnerable to heat damage
- May require a professional installer
- Not easy to repair
⬜Metal
Metal is another popular choice for backsplashes. It comes in various finishes, including stainless steel, copper, and bronze. It is also easy to clean and can withstand heat and moisture.
Pros
- Easy to clean
- Won’t stain
- Durable
- Invites reflected lights
Cons
- May dent or scratch over time
- It easily leaves fingerprints and grease
⬜Glass
Glass is a shatter-resistant material that comes in various colors and finishes. It is easy to clean and can add a touch of elegance to your kitchen.
Pros
- Non-porous
- Easy to clean
- Shatter-resistant
- It leaves a larger and brighter feel in the kitchen
Cons
- Can be expensive
- May require a professional installer
- Needs replacement when damaged
⬜Ceramic
Ceramic is a durable, moisture-resistant material that comes in various colors and finishes. It is versatile that comes in various sizes, shapes, and colors.
Pros
- Easy to clean
- Durable
- Water and moisture resistant
- Many colors and finishes to choose from
- Low-cost
- Replaceable
Cons
- May chip or crack over time
- Grout and stain may leave a stain
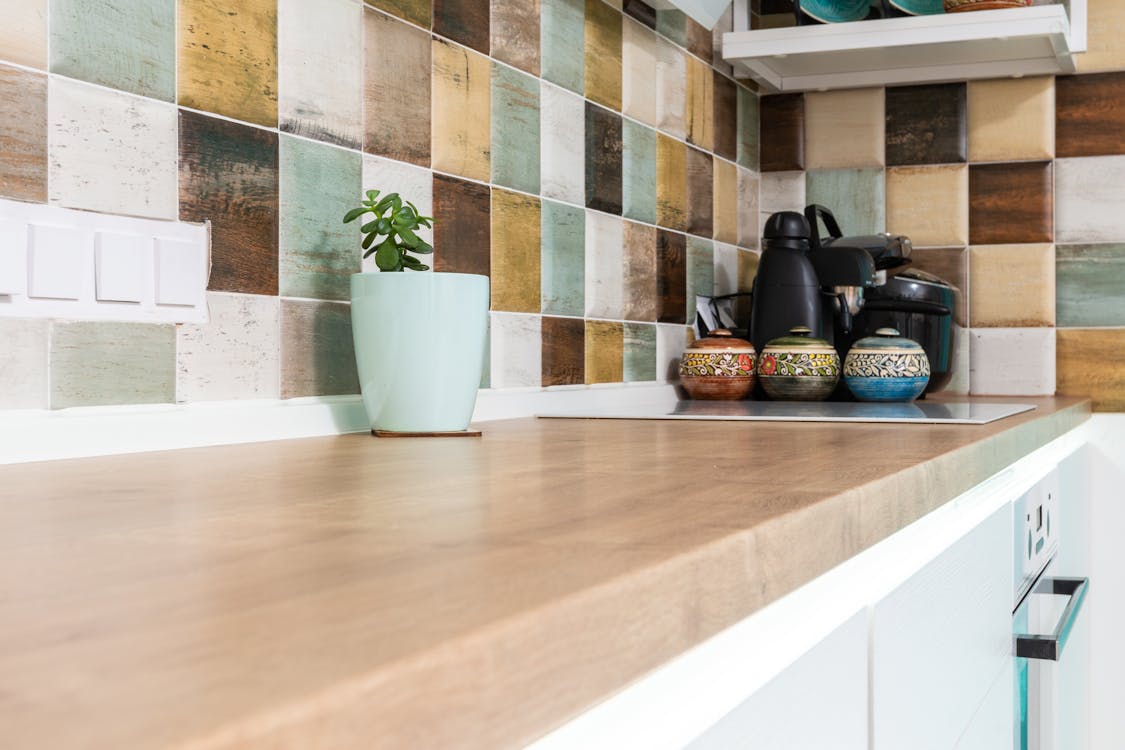
⬜Wood
Wood is a natural material that is not a popular option for backsplashes. Still, it does have a few unique benefits. It is non-toxic, which is perfect for families with young children. It is also easy to clean and can add a touch of warmth to your kitchen.
Pros
- Relatively cheap
- flexible in appearance
- Easily cleaned
- Adds a warm look to the kitchen
Cons
- Combustible
- Not waterproof
- Requires regular maintenance
⬜Porcelain
Porcelain is a type of ceramic fired at a higher temperature than other types of ceramic, making it more durable and resistant to moisture. It is available in a variety of colors and finishes.
Pros
- Durable
- Water and moisture resistant
- No sealing required
- Many colors and finishes to choose from
Cons
- Limited size, shape, color, and design
- Costly
⬜Wallpaper
Wallpaper is a popular choice for backsplashes because it is available in various designs, colors, and textures. It is also easy to install and can be DIY-ed by most people.
Pros
- Many designs and colors to choose from
- Easy to install
- Can be DIY-ed
- Inexpensive
Cons
- Not durable
- May peel or fade over time
- Susceptible to water damage
⬜Thermoplastic
Thermoplastic is a type of plastic that becomes soft and pliable when heated. It is available in a variety of colors and finishes.
Pros
- DIY installation
- Many colors and finishes to choose from
Cons
- Not durable
- Can warp over time
- Susceptible to scratches and dents
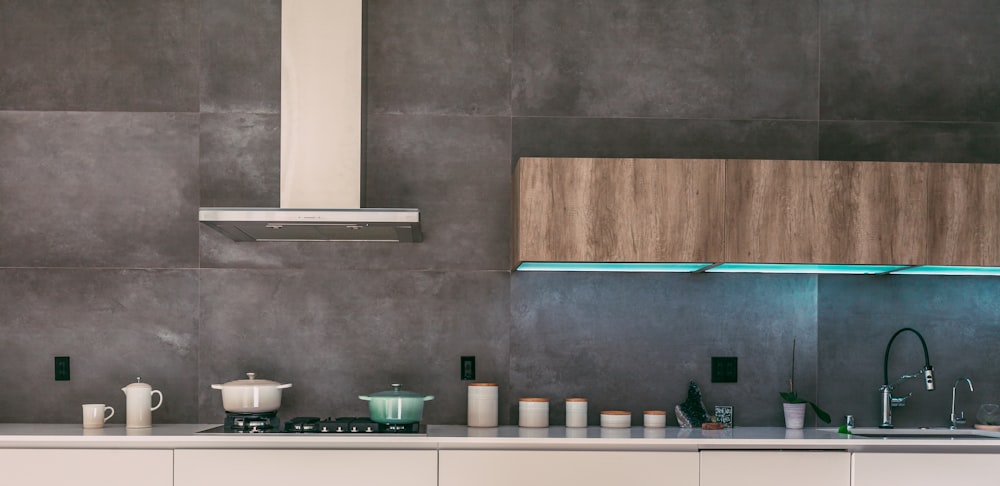
Why Install a Kitchen Backsplash?
🧡Serves as a protective surface
One of the primary reasons to install a kitchen backsplash is to protect your walls from moisture, grease, and other kitchen spills. A backsplash can also protect your walls from heat damage.
🧡A great investment
A kitchen backsplash can be a great investment for your home. It can add visual interest and personality to your kitchen and increase the value of your home.
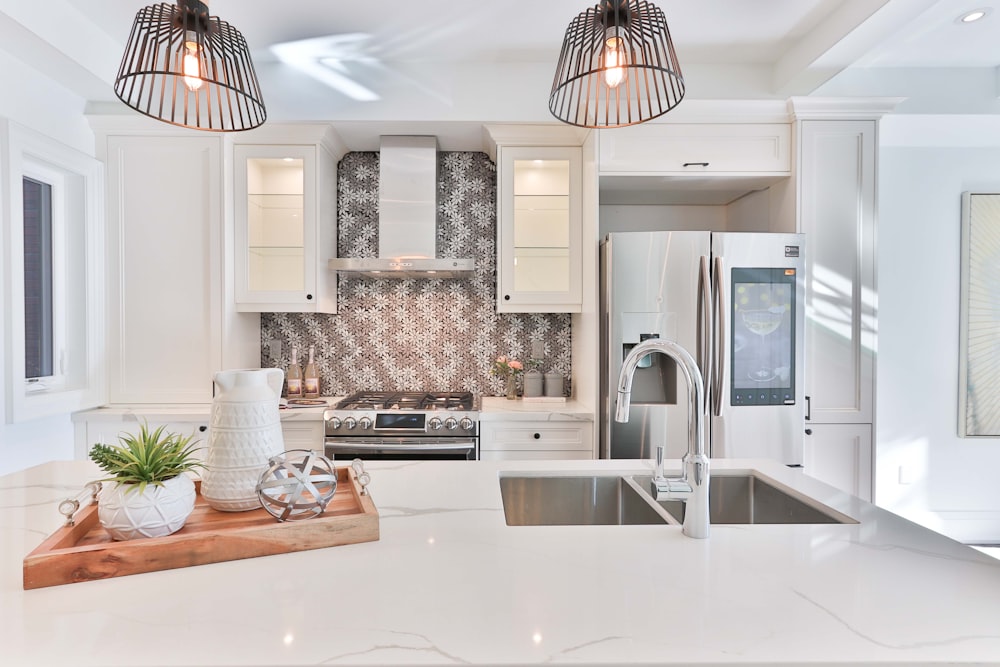
🧡Serves as a decorative accent
A kitchen backsplash can also serve as a decorative accent to your kitchen. There are many different types of tiles, materials, and designs to choose from, so you can find one that perfectly matches your style and personality.
Things to Consider Before Putting Up a Backsplash
Of course, before you decide to put up a backsplash, you need to consider a few things. Here are a few of the most important factors to think about:
Tile height and material: There are a variety of materials that you can choose from for your backsplash, including stone, metal, glass, ceramic, wood, porcelain, and thermoplastic. Each material has its own unique benefits and drawbacks, so you’ll need to decide which one is best for your needs.
The overall look you’re trying to achieve: Do you want a traditional or modern look for your kitchen? What kind of style are the cabinets and countertops in? Once you have an idea of the overall aesthetics you’re going for, it will be easier to choose a backsplash that complements them.
The amount of protection you need: Backsplashes can protect your walls from grease, water, and other kitchen spills. If you’re worried about damage to your walls, then a backsplash is a great way to add some extra protection.
Countertop design: Not all countertops are created equal, and some designs will be better suited for a backsplash than others. For example, if you have a granite or marble countertop, then a tile backsplash may be the best option.
Backsplash color or pattern: Do you want a plain backsplash or something with a lot of color and pattern? The tile or material you choose will dictate the kind of design you can go for.
Budget: Backsplashes can be expensive, but there are many affordable options available. You don’t need to spend a fortune to get a beautiful backsplash that will add value to your kitchen.
What are The Tools and Materials Needed
To install a kitchen backsplash, you will need the following tools and materials:
- Tile backsplash: You will need to purchase tile for your backsplash. There are a variety of materials and designs to choose from, so you can find one that matches your style and personality.
- Tile spacers: It helps keep your tiles evenly spaced.
- Caulk: It seals the seams between your tiles.
- Caulk gun: You need it to apply the caulking.
- Grout: Grout is a type of mortar used to fill in the spaces between tiles.
- Notched trowel: You will use it to apply the grout.
- Screw gun or 4-in-1 screwdriver: Using it will help you install the backsplash.
- Chisel: It removes the old backsplash.
- Thinset: Thinset is used to attach the tiles to the counter.
- Tape measure: Measure the space you’re working on with it.
- Marker: It makes marks on the tiles.
- Level: It ensures that your tiles are level and straight.
- Tile cutter: You will use it to cut tile.
- Bucket: You can hold the thinset using this.
- Paintbrush: Apply the grout sealant with a paintbrush.
How to Put Up Backsplash in a Kitchen: Basic Steps
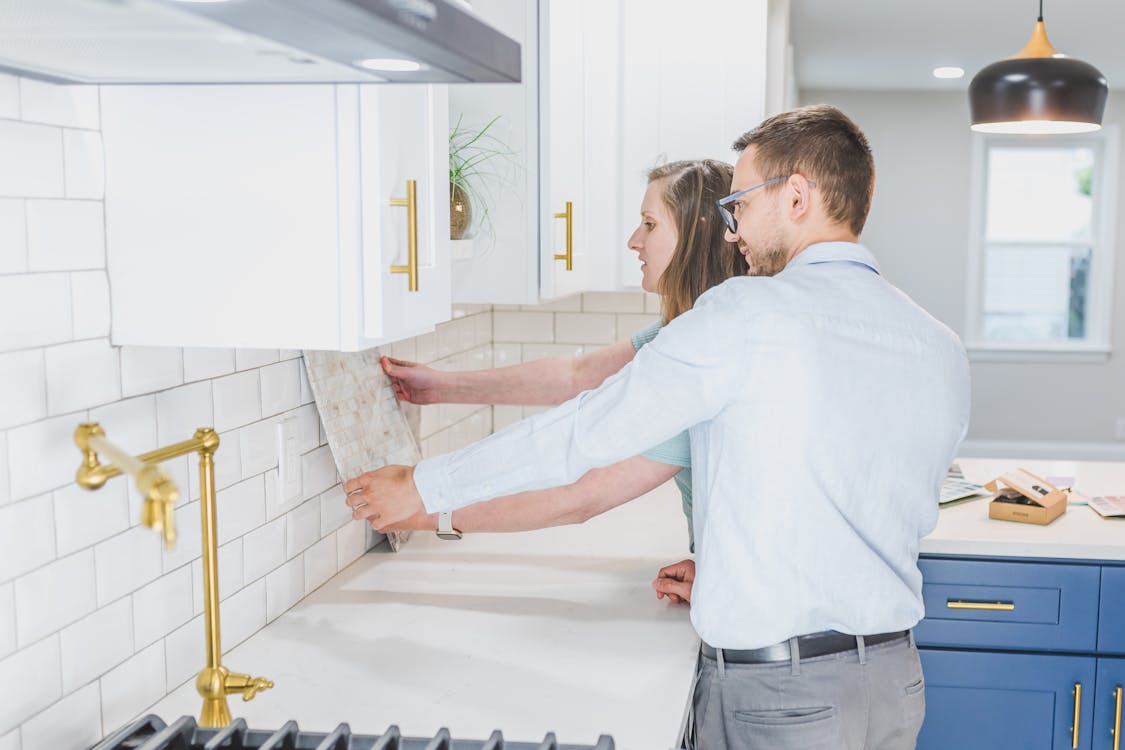
Now that you know what you’ll need, let’s take a look at the basic steps for installing a kitchen backsplash:
➡Prepare all the supplies.
Make sure you have all the essential tools and materials ready before starting. It will help avoid any delays later on. You may need to cover your countertops and floor with some plastic to protect them from the thinset.
➡Clean the walls.
The walls should be free of grease, dust, and dirt before you start. It will help the tiles adhere better to the surface.
➡Measure the space.
Use a tape measure to determine how much backsplash you need. Also, use the level to make sure that the tiles are level. Make some guidelines on the walls where you want the tiles to go with a marker. You may need to cut some tiles to fit the space perfectly.
➡Create a tile layout.
Decide on a layout for your tiles. You can use a simple design or something more complicated. Make sure to use spacers between the tiles to keep them evenly spaced.
➡Apply the thinset.
With a trowel, apply the thinset to the walls. Be sure to spread it evenly.
➡Install the tiles.
Start installing the tiles from the center and work your way out. Use a level to make sure they are straight. Apply pressure to each tile to ensure that it adheres to the thinset.
➡Cut tiles to fit at wall edges.
If you have any tiles that need to be cut to fit at the wall edges, use a tile cutter to do so.
➡Remove excess thinset or adhesive.
Once you’re done installing the tiles, use a chisel to remove any excess adhesive. Make sure to clean the area thoroughly.
➡Apply the grout.
Once the adhesive has dried, use a grout to fill in the spaces between the tiles. Be sure to use a notched trowel to apply it evenly.
➡Clean up and finish off.
Once the grout has dried, use a brush to apply a sealant over it. Allow the tiles to dry, and then wipe them down with a damp cloth. Once everything is completely dry, use a sealant to protect the tiles from water and stains. Wipe off any excess sealant and other residues.
Additional Tips and Tricks
Here are a few additional tips and tricks to help make your backsplash installation go a little smoother:
- If you have any cracks or holes in the wall, use caulk to fill them in before installing the tiles.
- When applying the thinset, make sure to spread it evenly. It will not hold the tiles in place if it’s too thin. If it’s too thick, it will be difficult to smooth out.
- Use a level to make sure the tiles are straight and even. It will help keep your backsplash looking neat and polished.
- If you’re having trouble getting the tiles to stick to the wall, try using a bit of adhesive. You can also use a tile adhesive to help keep the tiles in place.
- Wait for the thinset and adhesive to dry completely before grouting. It will help avoid any mishaps.
- When grouting, use a damp cloth to wipe off the excess grout. Be sure to do this regularly, as it can be difficult to remove once it dries.
- Allow the tiles and grout to dry completely before applying any sealants. It will help keep them looking clean and shiny for years to come.
Best Kitchen Backsplash Ideas
💡White Cloe Tile with Gray Grout
This simple but elegant backsplash is perfect for a modern kitchen. The white tiles with gray grout create a clean and polished look.
💡Tile Decal
If you’re looking for a quick and easy way to add some personality to your kitchen backsplash, consider using a tile decal. There are many designs to choose from, and they’re easy to apply.
💡Artificial Stone
If you’re looking for a high-end look, consider using artificial stone for your backsplash. It’s a cost-effective way to add some luxury to your kitchen.
💡Mosaic Tile
Mosaic tiles are a great way to add personality to your kitchen backsplash. There are many different designs and colors to choose from.
💡Organic Quartz
This natural stone has a rustic look perfect for a country-style kitchen. It’s also very durable and easy to clean.
💡Mirrored Effect
If you’re looking for a dramatic backsplash, consider using mirrored tiles. They’ll add some sparkle and glamour to your kitchen.
💡Brick Veneer
Consider using brick veneer for your kitchen backsplash if you’re looking for a traditional look. It’s a simple way to add warmth and character to your kitchen.
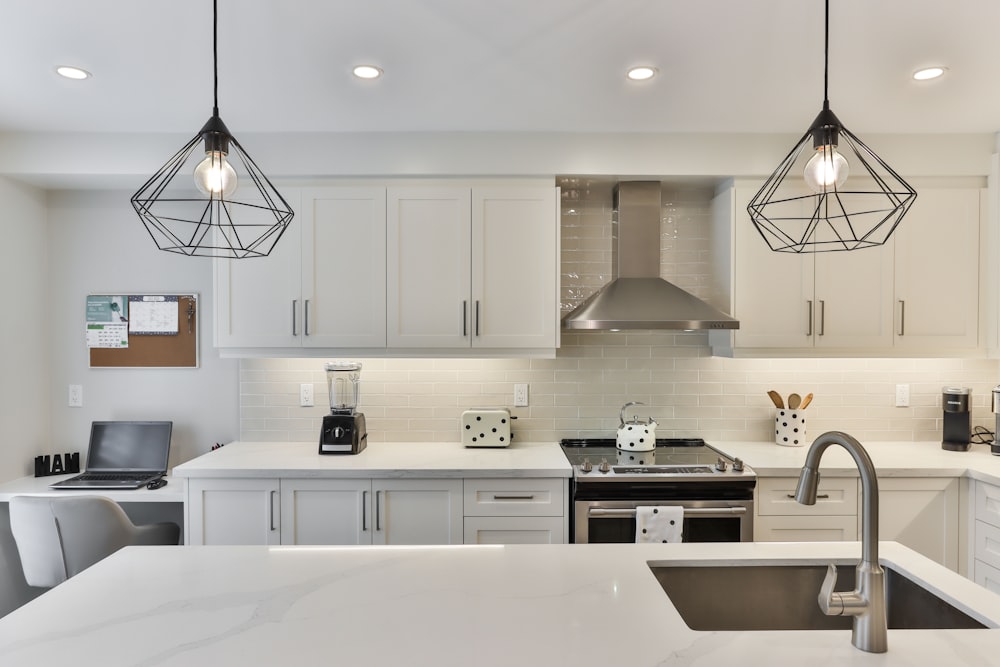
💡Subway Style Tiles
Subway-style tiles are a classic choice for a kitchen backsplash. They come in many different colors and can be arranged in various patterns.
Frequently Asked Questions
Q: Is it easy to install a backsplash?
A: It can be easy to install a backsplash, but it depends on the type of tile you choose. Some tiles are easier to install than others.
Q: What type of adhesive should I use?
A: You should use a thinset mortar to attach the tiles to the wall.
Q: Can I use tile adhesive instead of thinset mortar?
A: You can, but it’s not recommended. Thinset mortar is specifically designed to attach tiles to a surface.
Q: What is the best grout for a kitchen backsplash?
A: The best grout for a kitchen backsplash is cement-based grout. It’s durable and easy to clean.
Q: Can you install a kitchen backsplash on painted drywall?
A: You can, but it’s not recommended. The tiles may not stick to the wall properly. It’s best to install a backsplash on a surface that’s been primed and cleaned.
Q: Can you install a kitchen backsplash over wallpaper?
A: You can, but it’s not recommended. The wallpaper may not be able to support the weight of the tiles. It’s best to remove the wallpaper before installing the backsplash.
Q: How to choose the best backsplash?
A: The best backsplash is the one that matches your kitchen’s style and décor. There are many different types of backsplash to choose from, so you’re sure to find one that suits your needs.
Q: How do I clean a kitchen backsplash?
A: The best way to clean a kitchen backsplash is to use a mild detergent and a soft cloth. Be sure to avoid using harsh chemicals or abrasive cleaners, as they can damage the tile.
Final Thoughts
Adding a backsplash to your kitchen can be a great way to add some personality and style. Fortunately, putting up a backsplash is a relatively easy task. Make sure you choose the right tile and other materials, and you’re sure to have a beautiful backsplash that will last for years.