
Autumn is best known for chunky knit sweaters, hot coffee, and carving pumpkins for Halloween. If you want professional results, you should avoid using simple kits and kitchen knives in favor of more sophisticated equipment. However, there are so many alternatives available at such a wide range of costs that shopping online for pumpkin-carving tools can feel a little intimidating. Yet, you might need to have an idea of how to carve a pumpkin with a knife.
In this post, we’ll go over some of the most vital considerations you should make while buying pumpkin-carving equipment, as well as the many sorts and characteristics you should seek out. Read this article for tips on how to make the right choice, and check out our handpicked list of the best pumpkin carving tools on the market.
Why are Pumpkins Carved at Halloween?
Before you start carving a pumpkin, you might want to know where the tradition came from. The custom of decorating pumpkins with frightful faces dates back to ancient Ireland. On the evening before All Hallows’ Day (All Saints’ Day), people would hollow out turnips, beets, and potatoes, then carve scary faces onto them and light them up to ward off bad spirits.
How to Carve a Pumpkin: The Basics
Here are some easy and fun pumpkin carving ideas, complete with templates and stencils.
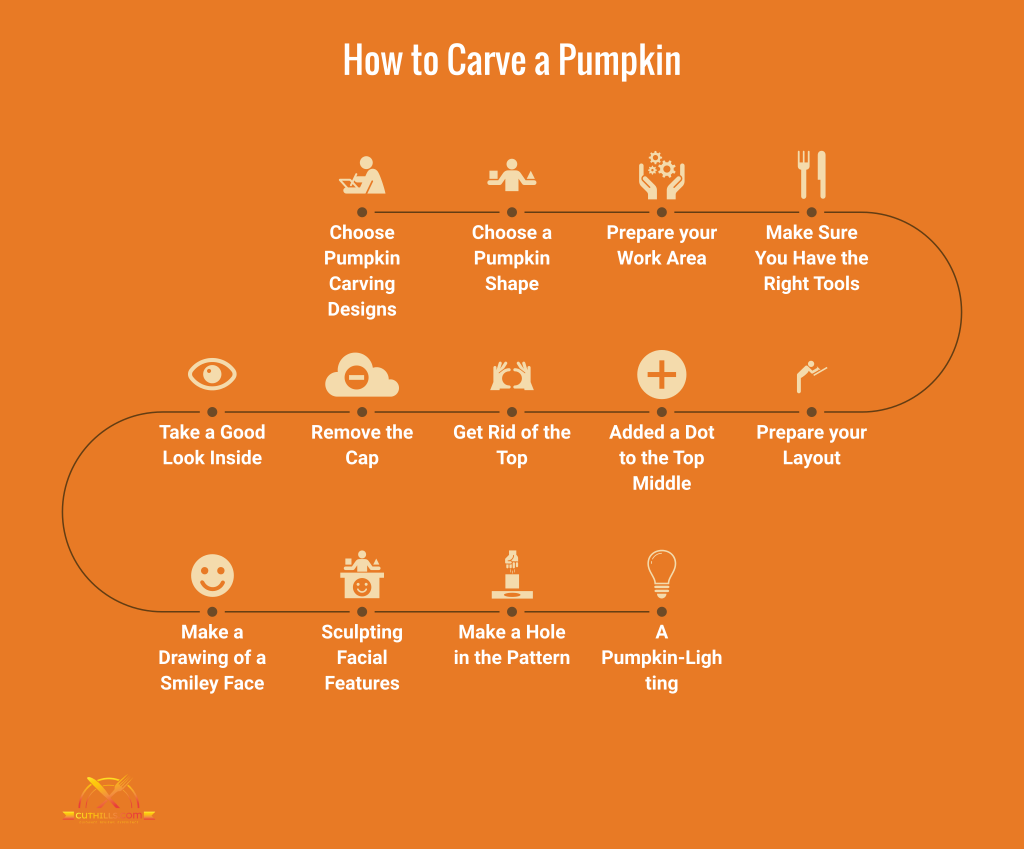
🎃 Choose Pumpkin Carving Designs
How would you describe the character of your pumpkin? The traditional jack-o’-lantern, witches and cats, scary animals, and more can all be found in this collection of easy pumpkin carving templates.
🎃 Choose a Pumpkin Shape
Choose a pumpkin with a shape that works with your design. Identify any weak areas by gently pressing on the surface. Smoothness is of the utmost importance if carving is to be done. Tap it gently with your finger. There should be a hollow, ripe sound. A healthy pumpkin will have a robust stem that is securely attached to the fruit. Pick out a pumpkin that won’t topple over. A pumpkin with a sturdy base is less likely to topple over if it rolls over or is knocked over.
🎃 Prepare your Work Area
Carving a pumpkin can be a lot of fun, but it can also be quite a messy activity. Make sure you won’t make too much of a mess and you know the proper steps on how to carve a pumpkin with a knife. before you get started. Because the pulp and fiber strands from the inside are less likely to get everywhere, carving a pumpkin outside is the best option.
The same precautions should be taken whether you’re working indoors or outside: line your workspace with a disposable protective covering. One common choice is recycled newspaper, but other options include parchment paper, butcher paper, and even paper grocery bags cut into strips. After you’re done carving, simply use the covering to collect the pulp and other leftovers from the pumpkin before throwing them away.
Make sure your working environment is as pleasant as possible so you can focus on the task at hand.
🎃 Make Sure You Have the Right Tools
Ensure you have all the necessary tools and materials before beginning the process on how to carve a pumpkin with a knife. While pumpkin carving kits are widely available, you may find that you already have everything you need in your kitchen. Any utility knife with a serrated edge will do, but a good knife is essential. A paring knife, on the other hand, is more suited for intricate work like carving the mouth of your jack-o’-lantern.
An implement for removing the pumpkin’s flesh is also required. You can utilize an ice cream spoon to scrape out your pumpkin, but a steel soup ladle works much better for getting rid of the fiber strands and pulp.
These are the tools we think will help you carve the most impressive pumpkin.
- One wooden chopping block
- 1 pen or felt-tipped stylus
- 1 fruit and veg knife
- 3 grams
- 1 stainless steel knife
- 1 bowl
🎃 Prepare your Layout
It’s tempting to just grab a knife and start chopping away, but it’s better to first think of your design and draw it out. The outer design can be drawn or colored on with a pen, marker, or other writing instruments. Some people like to draw their designs by hand, while others use stencils to get a guaranteed scary look.
🎃 Added a Dot to the Top Middle
Use a thick-headed black pen for ease and visibility on the pumpkin’s skin. Trace your hat’s outline onto the pumpkin stem using the pen. Using these tips, you can show that you are an expert and set up a routine for making clean, precise cuts.
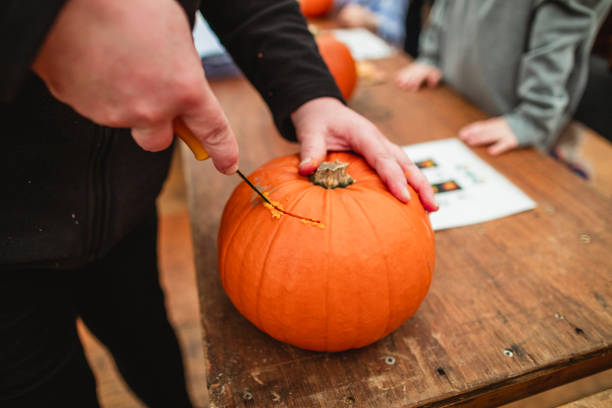
🎃 Get Rid of the Top
The lid should be the first thing you cut through when you’re ready to get started. Trace a circle around the pumpkin’s stem, and then cut it out with a serrated knife. When cutting the lid free, keep it at a 45-degree angle inside so it doesn’t fall in.
Since this is a somewhat involved process, it is best left to an adult to ensure the safety of any children who may be present. Begin by removing the pumpkin’s stem with a vegetable knife, and then pull out your N°10 for a deeper cut. In this way, taking the cap off won’t be a hassle.
🎃 Remove the Cap
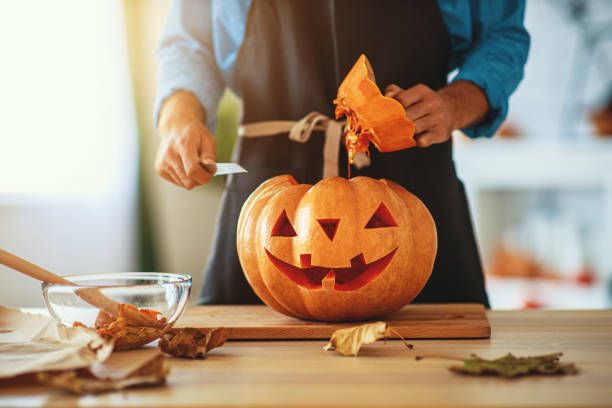
Once the pumpkin has been carved to your liking, you can take the top off by hand. If you run into trouble, you can use the fork and spoon as a lever or try cutting along the curve again with your knife.
🎃 Take a Good Look Inside
Carefully remove the pumpkin’s insides after you’ve removed the lid. Seeds are often collected and cleaned so they can be roasted at a later time. Take a ladle or an ice cream scoop and scrape out the pumpkin’s insides to get rid of the pulp and any strings you find. To pull all the stringy parts out of the pumpkins, you might need to brush your instrument down the sides.
Toss off the pumpkin’s pulp and any remnants. After the pumpkin’s insides are taken out, the skin should be wiped down to get rid of any pulp or moisture that is left. Then you can more easily carve out your strategy.
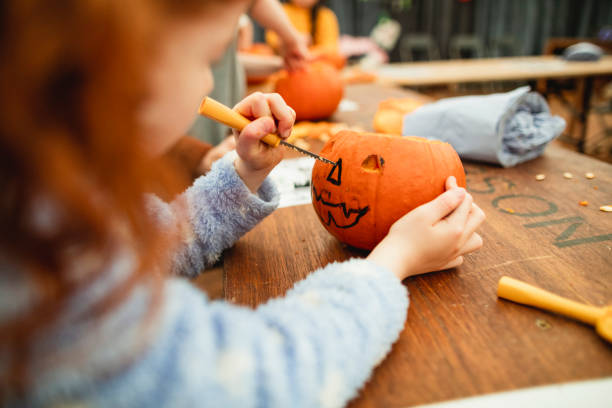
🎃 Make a Drawing of a Smiley Face
You can practice on paper beforehand, or you can go straight to the pumpkin. Create a scary face for your pumpkin. The eyes, next the nose, and finally the mouth, should be drawn in that order. Here’s one face, but it’s easy to picture a lot of others showing a wide range of emotions. This ensures that you won’t get lost or confused while you’re cutting.
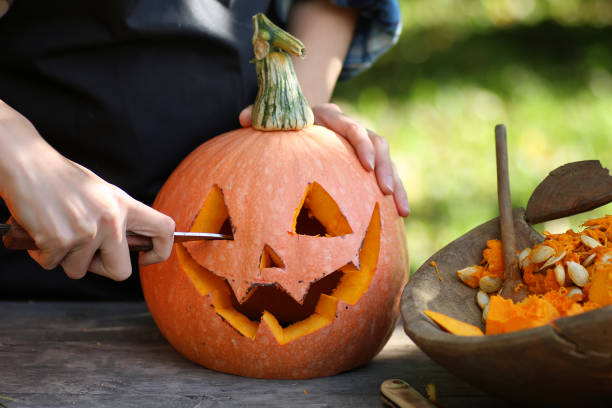
🎃 Sculpting Facial Features
Now, based on the size of your pumpkin, you can carve the face using either the N°10 knife or the vegetable knife. If you stick to the lines you’ve drawn in ink, you can’t go wrong. We suggest beginning with the eyes, moving on to the nose, and ending with the mouth. To avoid injury, it is best to let an adult practice this fine art, as pumpkin skin is tough.
🎃 Make a Hole in the Pattern
After you’ve removed all of the pumpkin’s guts, you may use a serrated knife to carve out your pattern. For a neater appearance, cut in a straight line.
🎃 A Pumpkin-Lighting
When you light your carved pumpkin, it takes on a whole new level of eeriness. If you prefer a more traditional appearance, place a new tea light or devotional candle inside the pumpkin and display it. Use battery-operated candles rather than those that use real flames if you’re worried about safety.
Carving Pumpkin Using a Hot Knife
- Make an address and print it out using a word processor. Put the printed count in the middle of the pumpkin’s face. Stick it to the pumpkin with tape so it won’t fall off.
- You can make holes in the edges of the numerals by inserting the point of a needle into them.
- Take away the cover and you’ll see the outlines of the figures.
- Bring the knife to a boil by plugging it in. It will require some time. Once the knife is hot, start cutting at the first number and move along the dashed lines.
🔪Friendly Advice on Carving Pumpkins with a Hot Knife:
The sizzling blade is held in place by a metal stand. Tape the stand down to a stable, sturdy surface using masking tape. (I affix it with tape to a rubber pad that I keep on my desk.) This way, when you set down the sizzling knife, it won’t move. Please screw in the knife blade with care. When using a hot knife, avoid touching the blade or any metal components.
As the temperature rises, discomfort is felt. Be careful not to put too much pressure on the sharp knife. Leave the cutting to the tool’s heat. The most challenging parts of a design to cut are the tight curves. Before you attempt to carve your pumpkin, try your hand at it on a piece of foam board.
How to Carve a Pumpkin with a Knife: 5 Safe Pumpkin Carving Methods
Keep yourself out of harm’s way and away from the ER by following these five simple safety guidelines.
1-Never Hold a Pumpkin in Your Hand While Slicing It
Cutting away from your hands and palms is the most foolproof strategy to avoid cutting yourself while cutting. While most people can carve safely for a while, as the activity progresses, they may start to compromise safe technique in an effort to carve more rapidly or create a more difficult cut.
Knife slips happen all the time, and when they do, your hand and fingers are at risk of being badly cut. If you turn the pumpkin or switch which hand is holding it steady, you won’t hurt yourself.
2-Any Knife Can be Deadly When Used to Carve a Pumpkin
While it’s true that it takes more effort to cut with a dull knife, this is not always the case when you are doing the steps on how to carve a pumpkin with a knife. A dull knife can cause gashes or puncture wounds after being forced through the pumpkin’s skin, but a sharp one can sever your skin, muscles, tendons, and nerves in an instant.
When the knife becomes stuck in the pumpkin, be extra cautious. If you suddenly or accidentally pull the knife toward your hand, you could hurt yourself. Additionally, make doubly sure the surface you’re carving on is stable, level, and at a good working height.
3-Clean Your Hands as You Go
When we scoop out pumpkin seeds, our hands get slimy and slick, as we all know. One should never attempt to hold a knife with wet hands. Keep your hands clean and dry as you carve to prevent accidents that could cause injury.
4-Leave Pumpkin Carving to the Adults
Even if youngsters are eager to help, you should remind them that they should stay away from the blades until you’re ready to start cooking. No children should be handling the pumpkin while an adult is cutting it. Instead, have the kids use stickers or draw a design with markers that you can then cut out to adorn the pumpkins. Without risking injury to their hands, they can still participate in all the excitement.
5-Seek Medical Attention ASAP
Don’t delay getting medical help if you bleed heavily during carving. In addition to the medicines provided by a doctor, deep wounds often need to be cleaned thoroughly. Even if a cut doesn’t look too bad at first glance, it could cause serious problems if it’s too deep. Get medical attention immediately; don’t wait.
Frequently Asked Questions:
Q. Do I need special tools to carve a pumpkin?
Pumpkins can be carved using basic household implements, but if you want professional results, it’s worth investing in some art equipment.
Q. When should pumpkins carvings for Halloween begins?
If you want your pumpkin to last until Halloween, you shouldn’t carve it earlier than three days before the holiday.
Q. Which method of pumpkin carving is the least difficult?
Cut a small hole in the pumpkin, scoop out the flesh and seeds, and then draw a simple expression on the pumpkin’s skin to create a jack-o’-lantern. Make a hole in the flesh with a sharp knife, then slide a candle inside.
Carving Up
For many people, Halloween wouldn’t be complete without participating in the age-old custom of Jack-o’-lantern carving. The pumpkins from around here were the best we’ve ever had. Be mindful of the setting and intended use of the pumpkin you select.
It’s important to take into account the pumpkins’ unique shapes while arranging your display. Consider how many pumpkins you’ll need for the layout. Please ensure to have a flat bottom. This will ensure that the pumpkin will stand upright when it is being displayed as well as when it is being carved. Hopefully, the steps above will be of great help in carving up your pumpkin using a knife.