
Sharpness is a crucial consideration when selecting the best Santoku knife. If you don’t use your knife on a regular basis, you may wind up with a dull knife that ain’t cutting through anything and won’t be fun to use. And in this post, we’ll disclose how to get the sharpest Santoku knife. Continue reading to learn more!
What Makes Santoku A Great Knife?
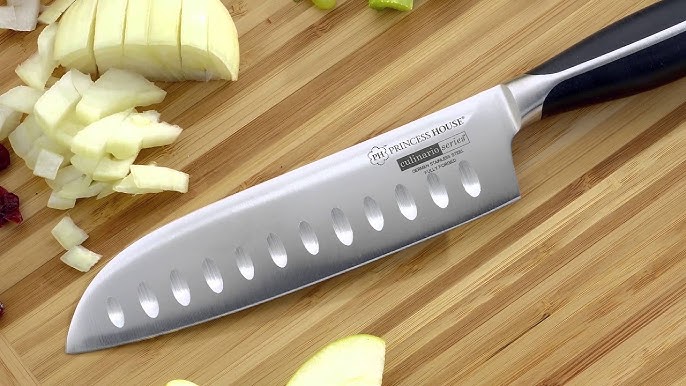
A Santoku knife serves as one of the most powerful tools in any kitchen. It can slice meat and veggies, as well as dice and chop. Many chefs prefer to use a Santoku knife every day in their restaurant or home kitchens because it is so flexible. But how can you know if this style of blade is suited for you? Here are some things to think about when purchasing one:
🟦 All-purpose
The Santoku knife is a multi-purpose knife, which implies it may be used for a variety of activities. It’s ideal for beginners, experts, and everyone in between. As previously said, the Santoku is a fantastic tool for cutting, chopping, sectioning, and dicing all forms of food, including fish and meat as well as vegetables and fruits. Because of its utility, it’s an excellent knife to keep on hand when preparing meals at home or in the kitchen of your restaurant!
🟦 Excellent for meat
The Santoku knife is the ideal instrument for slicing meat. This knife has the appropriate length and edge form for cutting into the meat without needing to scrape at it or risk having the edge slide and chop into your hand. If you need to do more than just chop up some chicken breasts for dinner, there are alternative options that may be more suitable.
For example, consider buying a carving knife rather than a Santoku if you want to carve an entire roast turkey on any other holiday. This type of tool will be much better at handling bones than a Santoku.
🟦 Comfortable
The Santoku knife is easy to grasp, use, and keep. The grip fits snuggly in your hand and has a good weight to it. When you hold it, it feels symmetrical, indicating that the weight is spread evenly between the edge and the handle. This makes it easier to move around while cutting your food.
The blade is also slightly curved, allowing you to slide back and forth as you cut through any food you are preparing. This helps to maintain beautiful uniform slices across everything from beets to apples so that they appear nice when plated later.
🟦 Versatile shape
The Santoku knife performs well in this task because it has a sharp edge on both sides, making it easier to cut through foodstuff without having to adjust the knife or use all of your strength.
Cooking becomes more pleasurable when you do not have fear about cutting yourself when chopping up your food.
This knife’s design also allows you to quickly chop sections off larger portions of food, making preparation items much easier than they would be with other types of knives such as paring knives or chef’s knives.
Is Santoku Knife Prone To Dullness?
Santoku knives are renowned because they are relatively light and simple to use for long periods of time. They also include an ergonomic handle that is pleasant for people of different hand sizes.
However, Santoku knives, like other kinds of knives, are prone to dullness, although they are more sensitive than others due to their thinner edge. Hone your Santoku knife on a regular basis with a whetstone or other honing tool to preserve its sharpness.
How Often Must You Sharpen Santoku Knife?
If you enjoy cooking and food preparation, you almost certainly own a Santoku knife. However, just because you bought this knife does not guarantee that it will remain sharp indefinitely. Sharpening your Santoku knife on a regular basis helps ensure that it continues to function effectively in the kitchen.
If you use your Santoku knife frequently, you may need to sharpen it once every several months or even more frequently depending upon how many you utilize it and what foods you cut with it.
However, if you use a Santoku knife nearly every day, it should be sharpened every two weeks. So, how do you sharpen it? And what is the best angle for sharpening a Santoku knife? Let us explore!
How To Sharpen Santoku Knife: The Right Angle
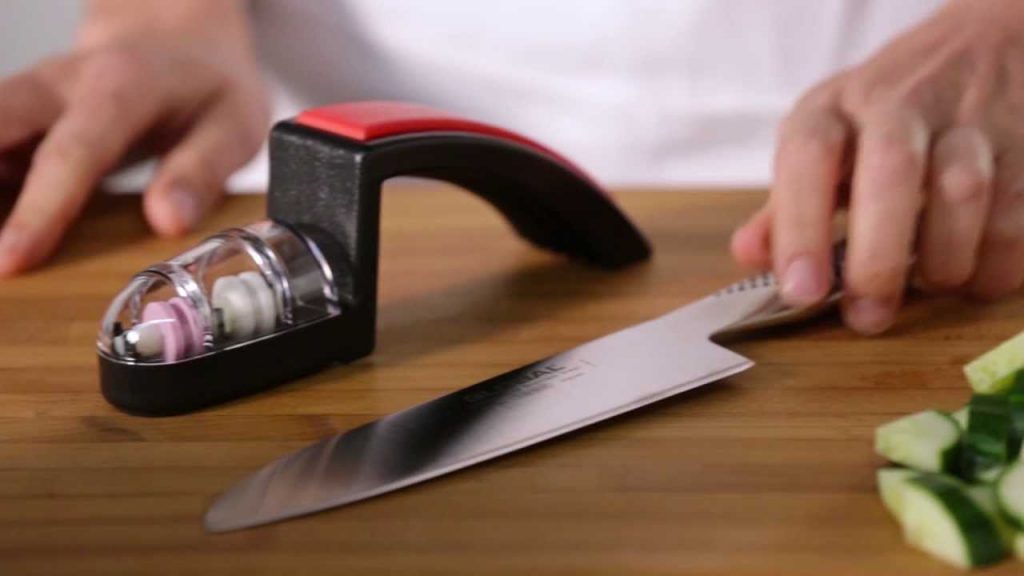
Santoku knives are among the most desirable knives accessible for good reason. They are ideal for a wide range of kitchen duties and can handle almost anything you fling at them. However, as with other knives, they must be sharpened on a regular basis. However, if you don’t know how and when to sharpen your Santoku knife efficiently, you may end up doing more harm than good and damaging your knife even more! We’ve therefore put together this tutorial on how to maintain your favorite knife:
Step 1: Bring out your Waterstones
The very first thing you’ll have to do is to get Waterstones. This may sound apparent, but they are the only method to properly polish your knife. They come in various grits and widths, so select the one that will perform great for your Santoku knife.
The greater the number of these stones, the finer they will be and so provide a sharper blade for your knife. If you don’t know what kind of stone works best for you, consider trying an 800-grit stone.
Step 2: Rinse the Waterstone with clean water and some soap
Rinse your Waterstone with water or soap. This step is necessary to remove any contaminants or dirt from the stone that could cause scars on your knife. Wipe away any filth with a moist cloth, then add soap as needed. Finally, let it dry completely before reusing it to ensure its longevity.
After rinsing, place a damp cloth on the surface to prepare for sharpening.
Step 3: Wet the stone, and coat it with oil
Apply some lubricant on your stone after laying it on a damp dish towel. You should be generous with this step since it will help prevent further damage to the knife’s blade when you sharpen it. It’s best to use baby oil since it is non-toxic and cheap, but any food-grade lubricant will suit.
If you have a huge marble or granite countertop beneath where you are sharpening, protect it by placing down a piece of carton or plastic wrap before placing your stone on it. You don’t want to damage your counter!
Step 4: Set the angle at 15 or 20 degrees with the honing guide
It’s a smart option to use a honing aid to precisely adjust the angle and maintain alignment every time. Using the honing guide, set the inclination to 15 or 20 degrees. If you don’t really have a honing guide, calculate the angle with a ruler and readjust your knife until it matches.
Step 5: Place down your knife with the heel of your knife on the stone
The base of the knife is the part nearest to the handle and is usually in touch with whatever you’re slicing. When you lay your knife on a honing stone with its heel down, you’re effectively prepping it to be honed from that side.
Let’s get started sharpening your knife now that it’s properly positioned over its sharpening stone.
Step 6: Slowly draw your knife across the stone toward yourself
Now that you have the Whetstone on your tabletop, set your knife flat on top of it, with its base resting on it. The heel or base should be pointing away from you and held at a 15 to 20-degree angle.
Now, glide your hand along the blade approaching yourself, keeping as much touch with the back of the blade as possible. This will result in two things: a little curvature in your knife and more uniformly dispersed sharpening grit across its surface.
Step 7: Flip the knife over, and repeat the other side
After sharpening the knife in one way, turn it over and repeat the technique on the opposite side. While polishing across the stone, keep the blade at a steady angle. Because of variances in grinding method or stone quality, one edge of your knife may be sharper than the other. If so, sharpen only this side initially before flipping over and continuing until both sides are properly honed.
Step 8: Return to lower grit stone
When you’ve done sharpening your knife, switch to a lower grit stone. This ensures that you create a nice edge without leaving any rough places.
To obtain a smooth edge, use a diagonal stroke with the honing guide from above. Make sure the honing guide is perpendicular to the honing stone. Applying too much force can lead your blade to become much duller!
To avoid clogging, use a lubricant like water or oil on each run of the stone until the appropriate sharpness is obtained.
Bonus: How To Take Care Of Santoku Knife?
Santoku knives are a Japanese invention that greatly simplifies cooking. They are not only useful for chopping and cutting, but their triangular design also makes them ideal for dicing and pureeing. However, if you want your Santoku knife to live longer (and you still didn’t buy the greatest quality knife), you should take proper care of it by following these quick tips:
Tip 1: Wash your knife by hand
Hand cleaning your Santoku knife is indeed the best method to care for it, but if you can’t or want to wash your knives fast before preparing anything else, try using a dishwasher. When putting a Santoku in the dishwasher, make sure there are no other sharp objects nearby. Otherwise, those things could scratch and destroy your knife’s handle.
Tip 2: Always use a cutting board
Slicing on a plate or other solid material might dull your Santoku’s blade. Always use a chopping board when cutting or slicing to avoid this. Make certain it is composed of wood, acrylic, or plastic. Never use glassware, metal, or granite to sharpen your knife’s edge. Use a cutting board the same diameter as the food you’re slicing and fasten it to your countertop so that it doesn’t slide around while you’re cutting!
Tip 3: Wash after each use
Keep the Santoku knife clean by rinsing it after each use to retain the sharpness of its edge. Wash with hot water and gentle soap. To clean the blade, use a delicate sponge or towel. After cleaning, dry them promptly, and do not keep wet knives in the sink. This is due to the fact that they will corrode if left for a long period of time. Before storing, wash with warm water again and properly dry.
While if you have finished chopping up a piece of meat, poultry, or fish, it is essential that you instantly wash your knife with boiling water and mild soap. This will eliminate any blood traces from the knife and prevent the formation of odors on the blade.
Tip 4: Store your knives
Storing your Santoku knives in an in-drawer tray or storage blocks will keep them from getting dinged or tarnished. Wooden blocks and trays can be used, however, plastic blocks and trays can also be used. Just be careful not to use metal as it will ruin the blade! If you have a large knife collection, consider investing in an organizer that enables you to keep many blades at once.
If you have well over one knife that needs to be kept in this manner, you may want to consider purchasing a knife stand. A great quality stand will safeguard your blades by keeping them away from other utensils and surfaces while they are stored.
Final Words
A Santoku knife is designed to be an all-purpose kitchen knife that can be used for a wide range of applications. Just be cautious when honing your Santoku knife if you intend to retain it for a long period. This is because some ways will damage your knife blade and will require additional maintenance or, worse, end up in the trashcan.
Hopefully, you already find what you’re looking for in this article. And to know more about Santoku knives, check out our other articles by clicking here!